

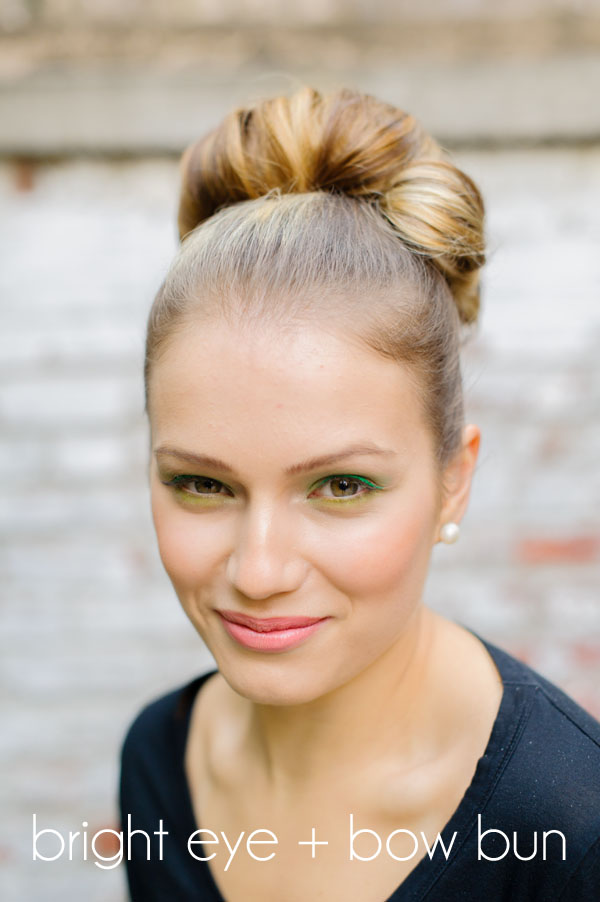
By now you guys should know that my favorite color is green, so when Linsey over at Face Time Beauty pulled out the eyeshadow & liner for this tutorial, I was positively giddy! This time we focused on a bright eye so the rest of the face was toned down, and took on the infamous “hair bow”. If you’re not bold enough to take on a green eye for your wedding, this look would work just as well for a rehearsal dinner or bridal shower (but I say take the leap!!!)
And in case you missed it, check out the first tutorial for bold lips + sexy hair.
You’ll need:
teasing comb/brush
1 hairband
a few bobby pins
and some hair spray to finish
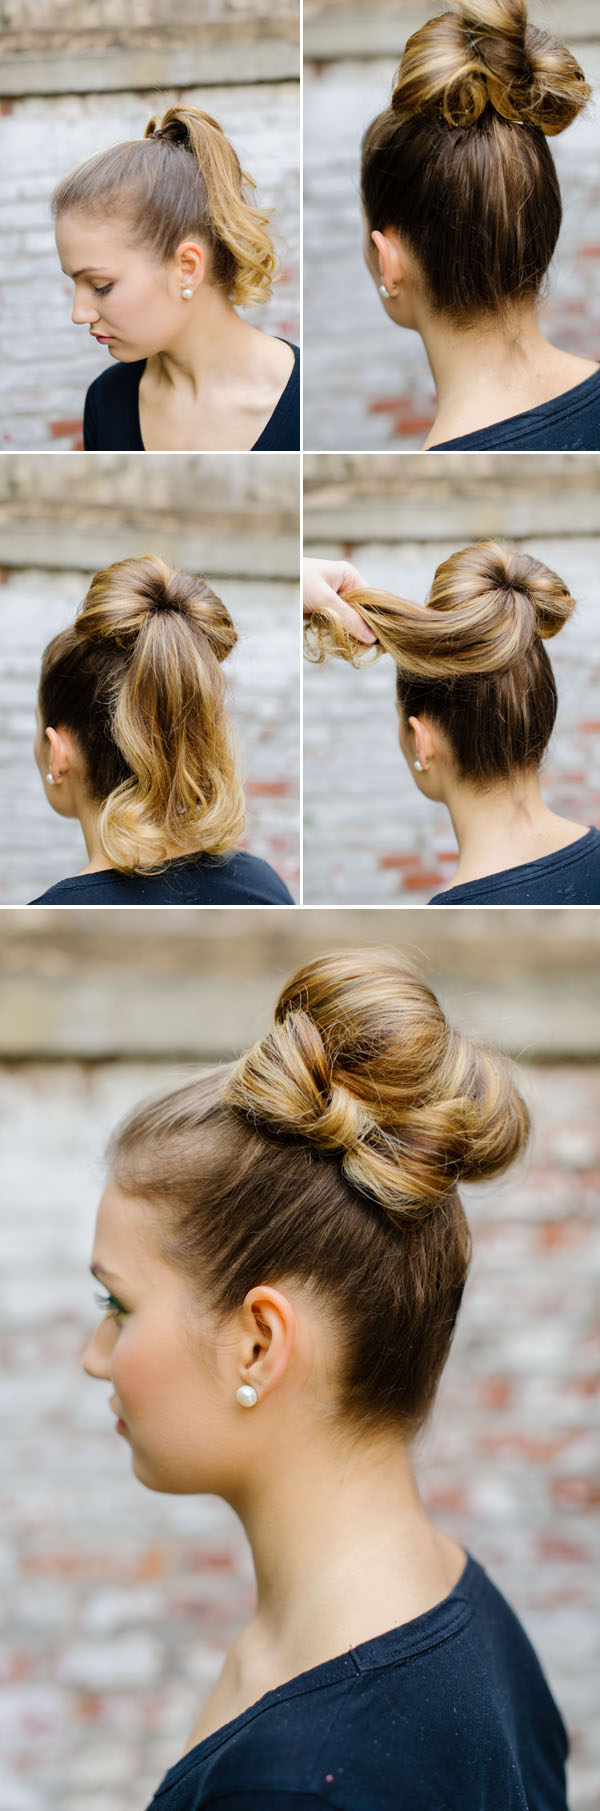
Steps:
step 1 – Gather hair in a pony tail at crown
step 2 – Divide into 5 sections (4 equal and one smaller) and backcomb each one
step 3 – Taking one section at a time roll down and fan out each to create a bun
step 4 – Taking your last section, split it into 3 smaller sections, roll them backward and pin into place to create a bow

You’ll need:
Crème blush (We used: 3 Custom Color’s Ski Bunny)
Light foundation (We used: Make up For Ever HD Foundation)
Mascara (We used: CoverGirl LashBlast)
Translucent Powder (We used: Make Up For Ever HD Powder)
Green Eyeshadow (We used: Chanel Les 4 Ombres in Lilium)
Green Liquid Eyeliner (We used: Pantone in I Dream of Greenie)
Lipgloss (We used: L’Oreal in Coral Tattoo)
Steps:
step 1 – Start with a fresh, clean + moisturized face
step 2 – Apply foundation sparingly and put the crème blush on the apples of the cheeks
step 3 – Dust on translucent powder over the face and on the eyelids
step 4 – Use your finger to dab on lightest green shadow on the top lid and bottom lid (remember: this color sets the tone for the whole eye + the heavier this color is applied the heavier everything else must be, so apply this sparingly)
step 5 – Sweep the slightly darker green shade in the crease (again: make sure it is not applied too heavily)
step 6 – Draw a thin line on the lash line and extend the line upward a tiny bit more from where the natural lash line ends. You don’t want a “cat – eye” but a slight extension.
Step 7 – Apply two coats of mascara on top and one coat on bottom
Step 8 – Lightly dab on soft, pink toned lipstick
Hair: Paul for Face Time Beauty | Makeup: Linsey for Face Time Beauty | Model: Mila Skidelsky
[images by Trent Bailey]