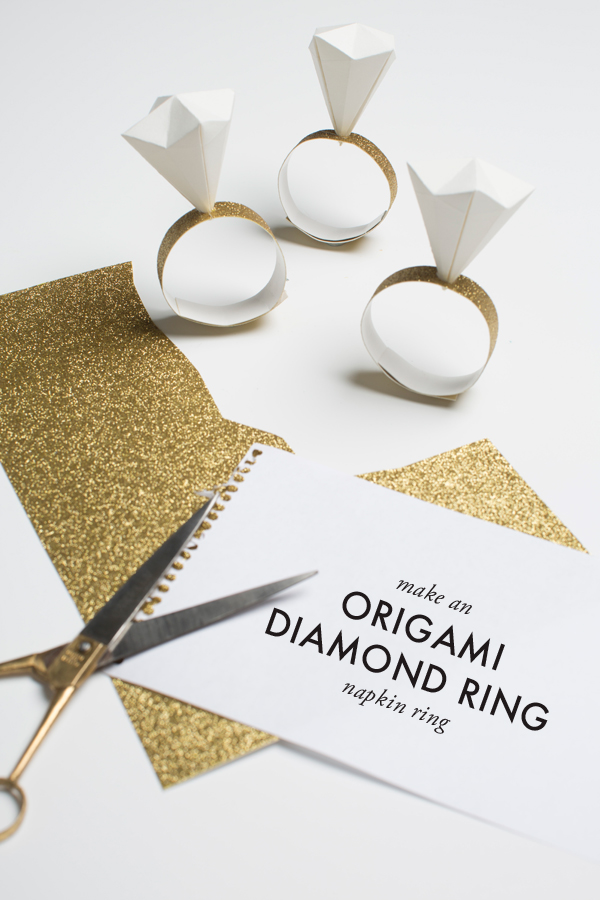
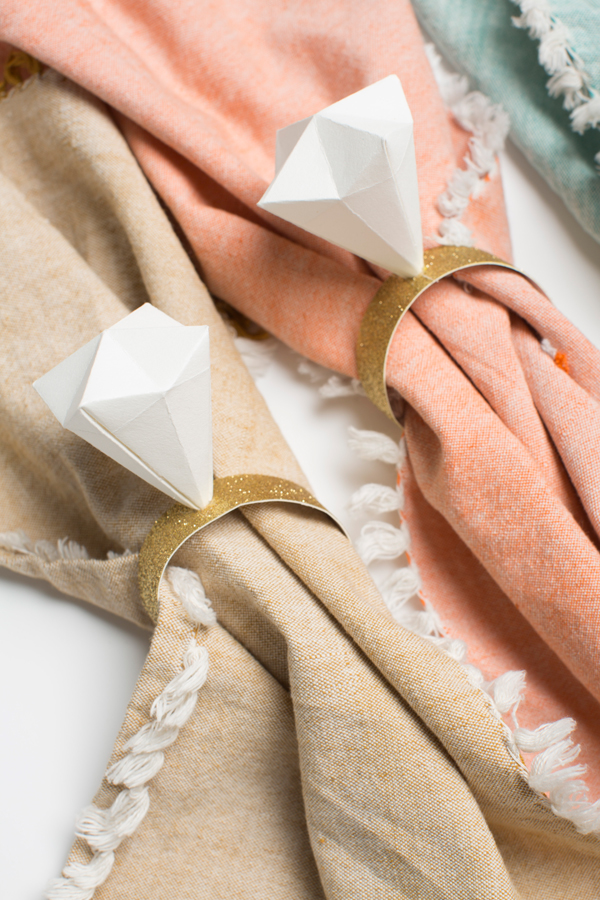
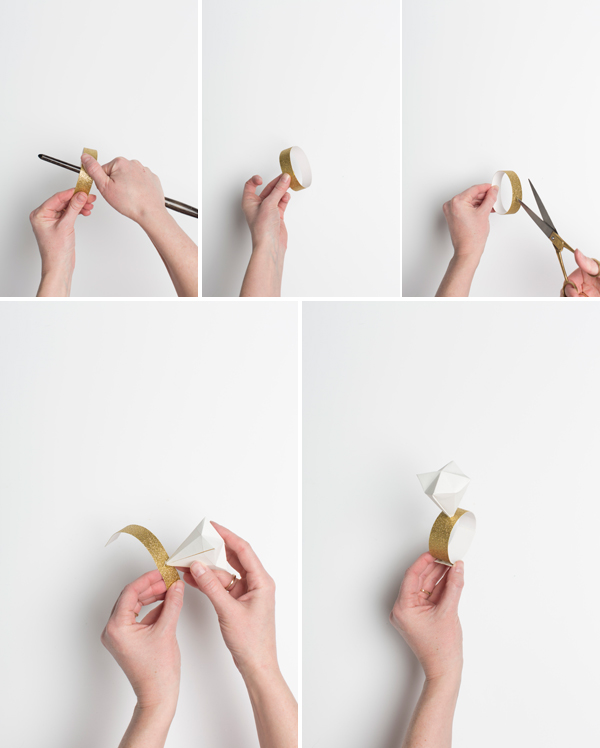
How cute are these origami napkin rings? I thought they’d be a fun detail to add to a wedding. Once you figure out the rhythm of the folding, it’s actually quite simple and wouldn’t take too long to make.
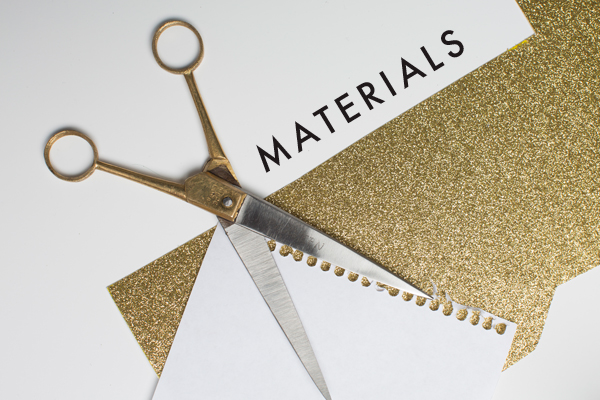
Materials: gold glitter paper, scissors, white piece of paper, glue
To make the diamond:
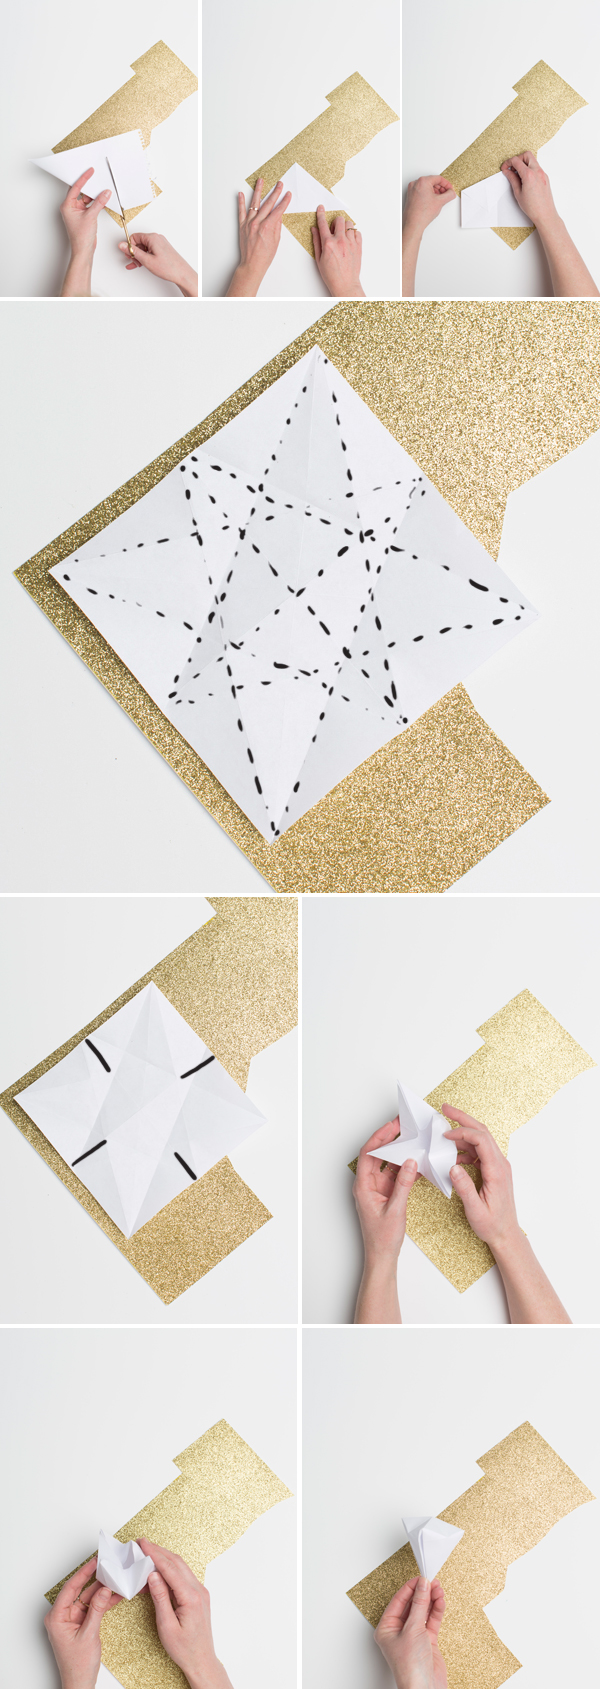
Step 1: Fold your white paper diagonally and crease. Cut off the remaining paper. Your paper should be in the shape of a square.
Step 2: Fold and crease at the other diagonal.
Step 3: From the top right point, bring the top down so that it reaches the mid point on the left side. Crease.
Step 4: Repeat this all the way around the square.
Step 5: Look at the diagram below with the fold lines to see where you should have made all the creases.
Step 6: Look at the second diagram below (with the four lines) to notice where you will bring in all 4 sides to form the shape of the diamond. These four lines will be indented and the center point will pop out. You might have to carefully finesse the center so that it continues to stay popped out. The areas surrounding those small four lines will be folded in.
Step 7: Once the points are created, you’ll glue each side together to hold it in place.
To make a gold band:
Step 1: Cut out a strip of glitter paper about 1″ wide and 9″ in length.
Step 2: Curve it with a big paintbrush so that it easily rolls into a circle.
Step 3: Cut a hold into the band where you’d like to place your diamond.
Step 4: Add a dab of glue into the hole and insert your diamond and hold.
photography by Trisha Zemp
DIY by Brittany Jepsen of The House That Lars Built

